Showing posts with label 3rd Grade. Show all posts

Tuesday, April 30, 2013

How do we LOOK at art? - Critique in the elementary classroom - Part 1

This question is a good one, especially on critique days.  It is important that students know how to look at a piece of artwork, albeit their own, or someone else's.  Here is where the journey begins with some simple language to share with your students.  Emphasis on simple--stuff they can remember...er me too!  

While getting my master's degree, during my final class I needed what is called a "Transformative Event" or in my language, something that you feel very passionate about within your content area.  I happen to be one of a couple of art educators going through this program, so it was helpful to use them as a sounding board.  I felt it necessary to educate young people about how to look at art...along with the world around them.  This transfers to just about anything...can you say cross-curricular!  I suppose we could ask the question, "How do we LOOK at the world around us?"  Little long, but you get the point.  Hopefully, students will subconsciously use these tools---if we use it enough in the classroom.  

A beginning exercise would be to show a piece of art, on the smart board, or poster and pose these questions to the students.  Each bulleted point allows them to focus on a specific area of the artwork and to dissect each area allowing them to collect data.  The importance of this data collection is to help students create an opinion and understanding of the artwork deeper than the "I like it" or "I don't like it" surface opinion.  Try it, see what happens.  It is a nice mini-lesson that may allow you to help your students look deeper into not only their own artwork, but others, looking for a more authentic meaning and journey to understanding the artwork around them.    

Thursday, April 25, 2013

3rd Grade - Line, Shape & Color Triptych

In the beginning, there was line, shape and pattern...and zentangles!  Almost all of my students have done some form of zentangle, and for most of them it is enjoyable.  My 3rd grade curriculum charges us to cover line, shape and pattern in the first quarter, so we did, and instead of separating it into different projects, we combined them into this beautiful triptych of sorts for displaying.  This project took longer than I had intended, but the quality of work was astounding and therefore warranted the time the students were involved in the process of their creations.  Each square is a 6x6 square and they were glued on a black background for displaying.   

Square 1's instructions were to use different lines after the basic zentangle dots, borders and string were created.  They were asked to use different lines and only different lines.  Square 2's instructions included the same zentangle beginning and uses shapes as the designs.  Square 3 was the combination square of lines and shapes to create different patterns.  

Overall this project turned out incredible and students were surprised by their own work as well, they took their time and worked on their craftsmanship, while reviewing lines, shapes and patterns.  


Sunday, April 21, 2013

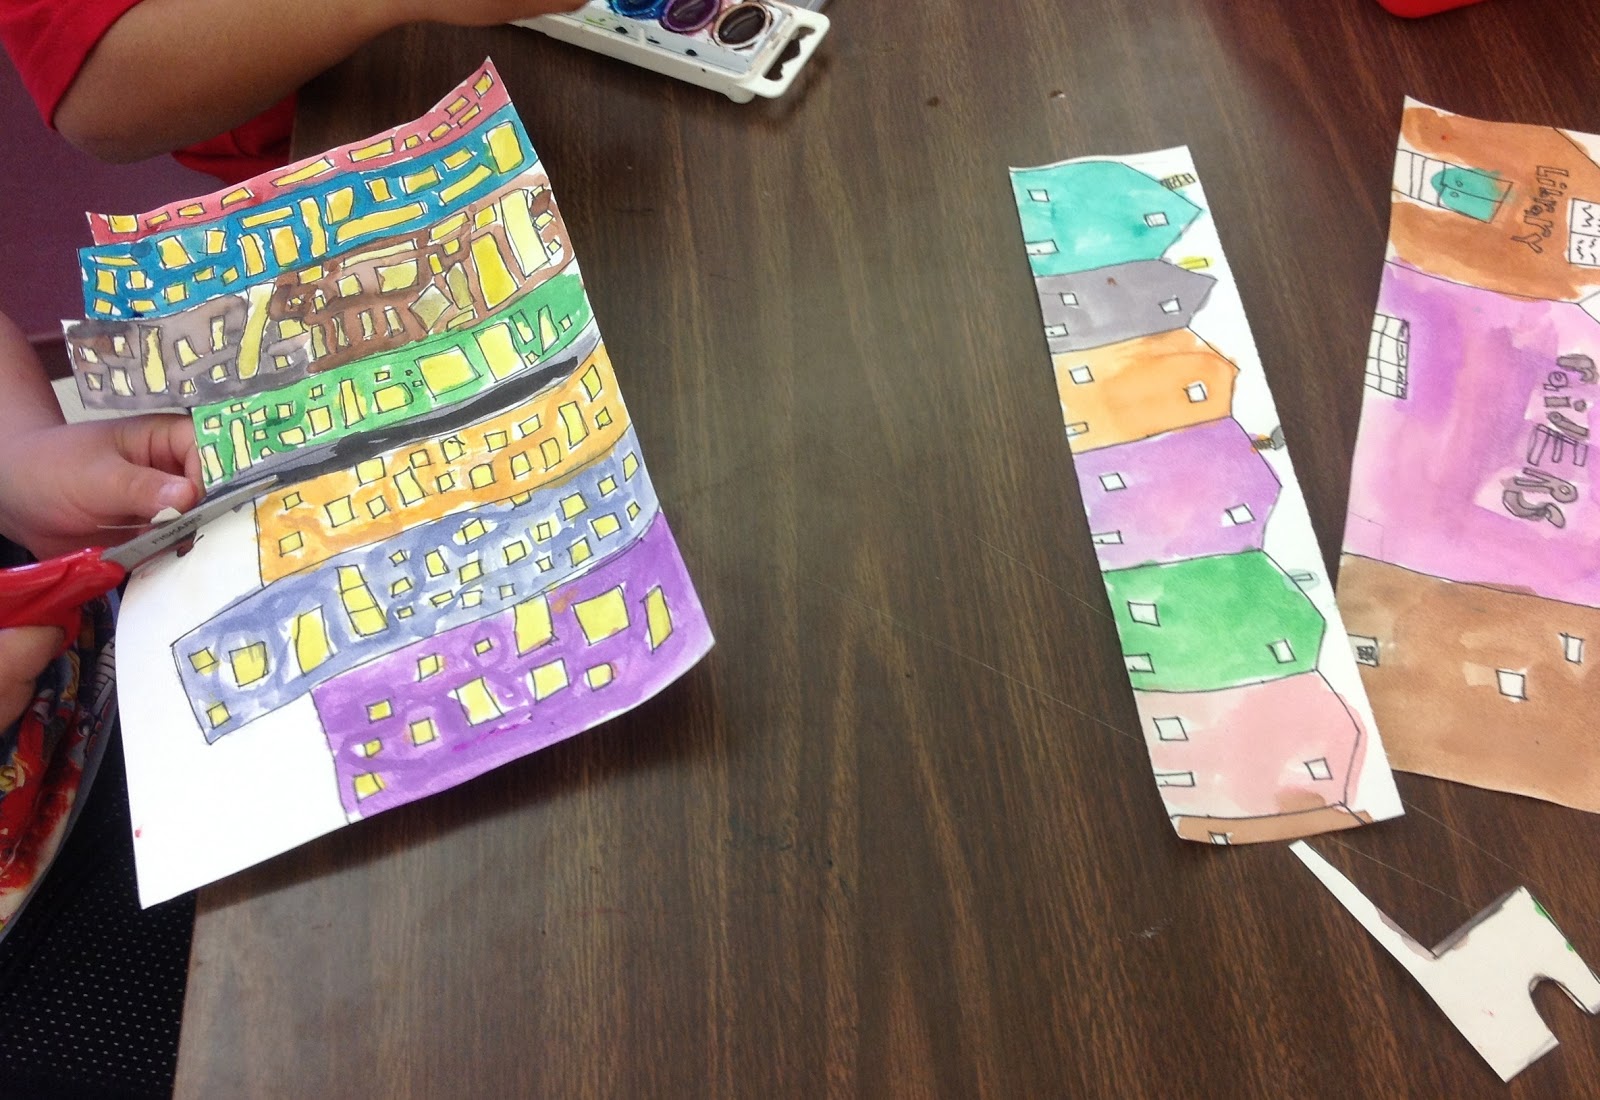
3rd Grade Cities - Space

I love architecture, so I would have to say that space is my absolute favorite concept to teach in the art room.  For 3rd grade we created cities that have space, albeit not much in between them, but they have some space separating them.  I started out the lesson reading the book Iggy Peck, Architect.  Sweet little book about a 2nd grader that builds all sorts of things and saves his class using his mad designing an building skills.

We then talk about what space is.  I try to keep it simple.  I explain that there is above us, below, on either side--basically all around us.  Then I say, but there is also space within us--like the art room.  We use the space in the art room, but there is space all around the art room as well.  I also touch on the career of an architect and what they do.

So step one on the project, I gave each student 3 sheets of paper, 12x3, 12x5.5 and 12x8.  Then I explain the types of buildings that need to be drawn on each size.  The small needs to have houses, the medium should have shops and small buildings and the large, skyscrapers.  They got pretty creative and added landmarks they have visited and landmarks from our town.  They drew with pencils and then outlines with thin Sharpies.  Afterwards, they watercolored.  Finally, they cut out the sky part to give a skyline to each size of buildings.  Lastly, they chose the background sky color (I gave them orange, black and blue to choose from) and they glued each down with little foam squares.  I just cut up a large foam piece into 1/2 x 1/2 inch squares.  After gluing everything on, there is space between the background and the skyscrapers, the boutiques and small buildings and the houses.

They did a fantastic job.