For the second day of Pigasso and Mootisse in the art room, the 1st graders learned about abstract art in a different way. We watched the clip of Matisse clipping away at his colored paper and arranging free-form shapes in his artwork. Students were challenged with something similar. Supplies that were given: black constuction paper 6x18 rectangle, multicolored squares 3.5x3.5 and scrap construction paper for cutting. Instructions included choosing 4 background shapes, glueing them onto the black background. Then students could choose what colors they wanted to cut shapes out of to glue onto their colored squares. We talked about movement and space while cutting these out and arranging them as well as reviewed abstract art. Pictures are coming shortly...while they are in process.

Showing posts with label Space. Show all posts
Showing posts with label Space. Show all posts
Wednesday, April 24, 2013

1st Grade - When Pigasso Met Mootisse - Day 1
For the last couple years, I have struggled with 1st grade lessons. I am not sure if it is the time limit that I have with them or the structure of mixed classes that has given me the challenge, nonetheless, I have struggled, until this year! This year we have rocked in first grade, we have had so much fun this year and created so much amazing art this year, and I from what the 1st grade teachers have shared, I think they have learned quite a bit too. (I am beaming about this!) We are at the part of the year that I dread, the end, and I am wanting to keep our lessons very meaningful, but short and sweet, due to end of the year activities and such. So this is a weeks worth of fun wrapped into a fun story!
When we were done discussing, I gave students a 6x6 square of paper and allowed them to create something abstract using oil pastels. Each one explained what they were drawing when I walked around and inquired. They took these home and I asked them to show their artwork and explain it to those at home.
Here is a sampling of day 1's take home artwork.


Sunday, April 21, 2013
3rd Grade Cities - Space
I love architecture, so I would have to say that space is my absolute favorite concept to teach in the art room. For 3rd grade we created cities that have space, albeit not much in between them, but they have some space separating them. I started out the lesson reading the book Iggy Peck, Architect. Sweet little book about a 2nd grader that builds all sorts of things and saves his class using his mad designing an building skills.
We then talk about what space is. I try to keep it simple. I explain that there is above us, below, on either side--basically all around us. Then I say, but there is also space within us--like the art room. We use the space in the art room, but there is space all around the art room as well. I also touch on the career of an architect and what they do.
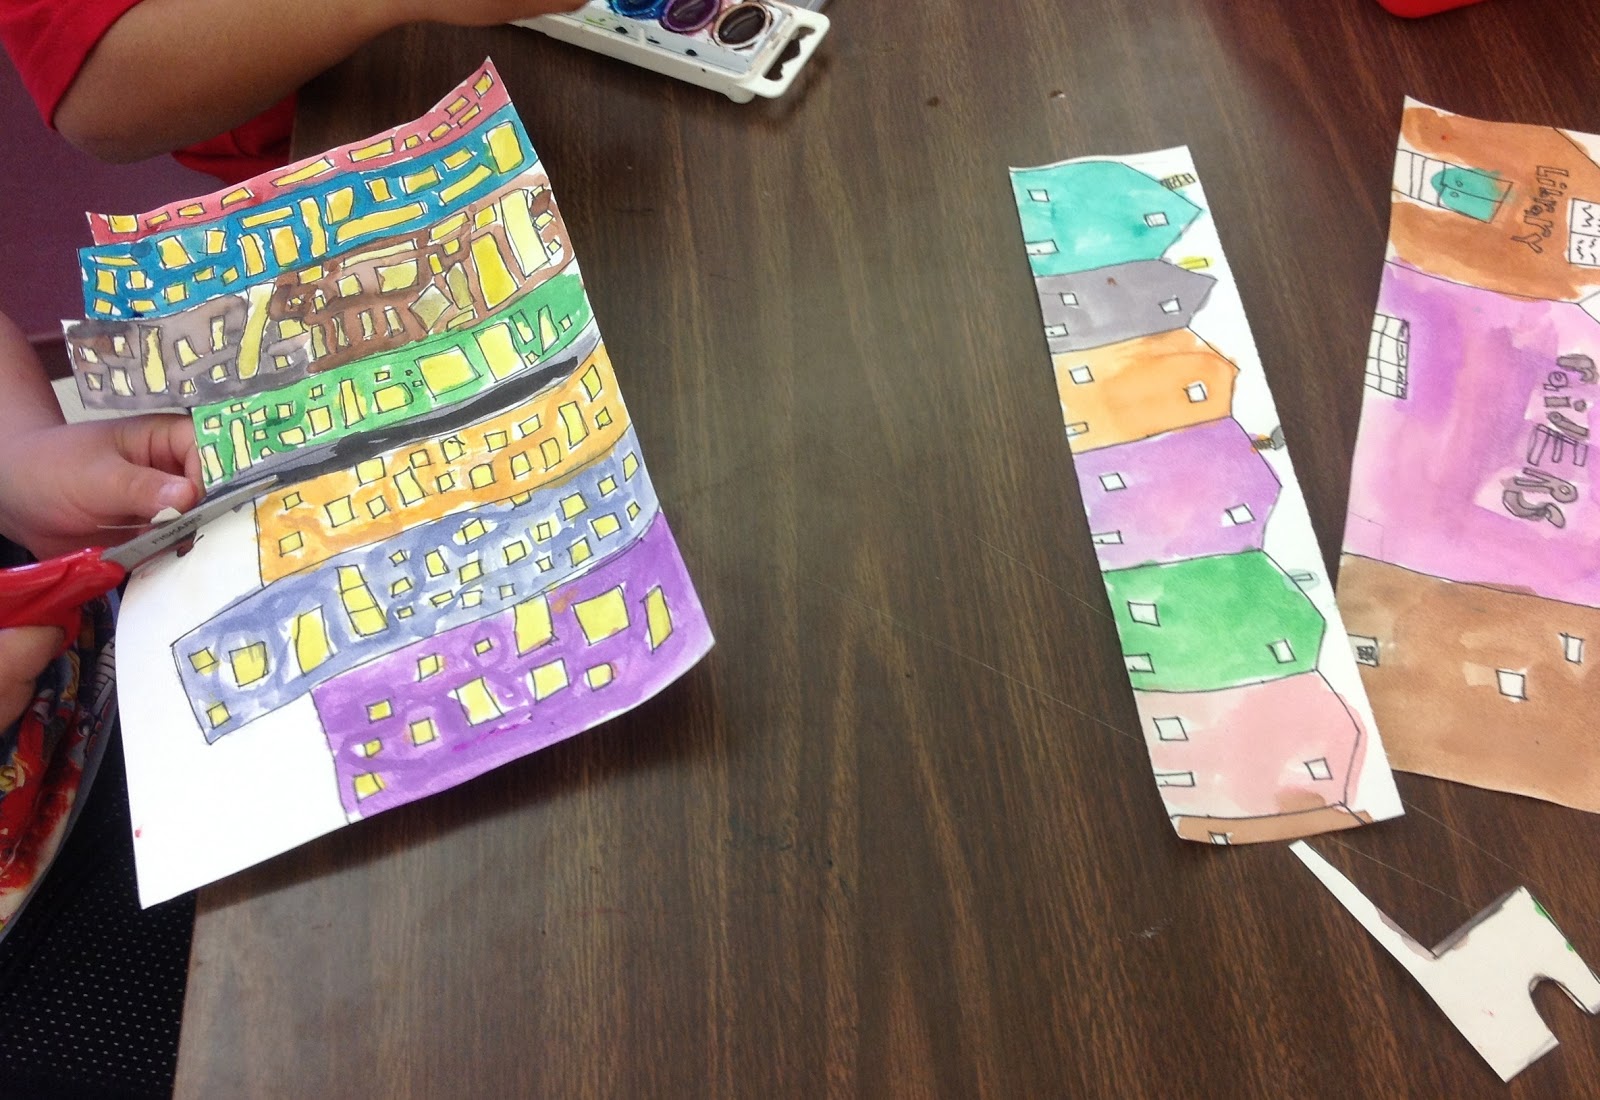
So step one on the project, I gave each student 3 sheets of paper, 12x3, 12x5.5 and 12x8. Then I explain the types of buildings that need to be drawn on each size. The small needs to have houses, the medium should have shops and small buildings and the large, skyscrapers. They got pretty creative and added landmarks they have visited and landmarks from our town. They drew with pencils and then outlines with thin Sharpies. Afterwards, they watercolored. Finally, they cut out the sky part to give a skyline to each size of buildings. Lastly, they chose the background sky color (I gave them orange, black and blue to choose from) and they glued each down with little foam squares. I just cut up a large foam piece into 1/2 x 1/2 inch squares. After gluing everything on, there is space between the background and the skyscrapers, the boutiques and small buildings and the houses.
They did a fantastic job.


We then talk about what space is. I try to keep it simple. I explain that there is above us, below, on either side--basically all around us. Then I say, but there is also space within us--like the art room. We use the space in the art room, but there is space all around the art room as well. I also touch on the career of an architect and what they do.
So step one on the project, I gave each student 3 sheets of paper, 12x3, 12x5.5 and 12x8. Then I explain the types of buildings that need to be drawn on each size. The small needs to have houses, the medium should have shops and small buildings and the large, skyscrapers. They got pretty creative and added landmarks they have visited and landmarks from our town. They drew with pencils and then outlines with thin Sharpies. Afterwards, they watercolored. Finally, they cut out the sky part to give a skyline to each size of buildings. Lastly, they chose the background sky color (I gave them orange, black and blue to choose from) and they glued each down with little foam squares. I just cut up a large foam piece into 1/2 x 1/2 inch squares. After gluing everything on, there is space between the background and the skyscrapers, the boutiques and small buildings and the houses.
They did a fantastic job.



Subscribe to:
Posts (Atom)